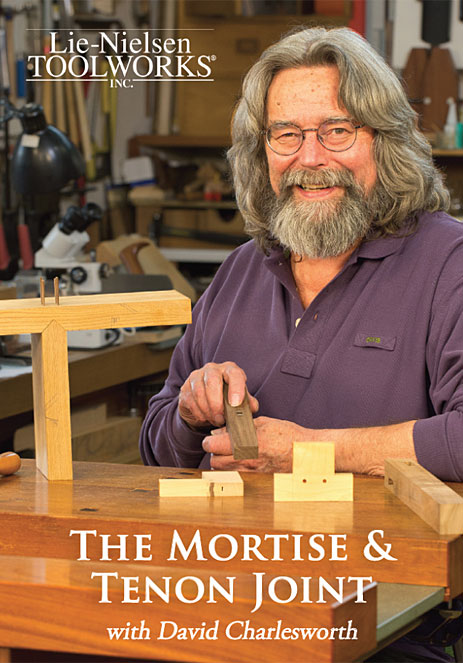
Mortise and tenon joints appear deceptively simple, but are actually quite demanding to do well. The amateur is unlikely to saw as well as the apprentice trained professional of the past. The hand cutting of mortises is shown in detail as well as a quick look at a hollow chisel mortising machine. David explores techniques for producing accurate tenon cheeks. These are needed for good glue joints. This precise work is achieved with the aid of the No. 71 router plane. The video covers small draw bore mortise & tenon joints, and wedged through tenons, which are often a feature of Arts & Crafts work. Mitred through tenons and table leg mortises are also shown.
David Charlesworth has taught woodworking since 1973 and is widely respected in England as a writer for Furniture & Cabinetmaking Magazine. His specialty is getting the most out of hand tools in precise and original ways.
Chapters
1. Mortise Chisels
2. Sharpening Mortise Chisels
3. A Handy Guide for Sharpening
4. Grinding Mortise Chisels
5. The Drawing
6. Marking Gauges
7. Marking the Mortise
8. Hammers and Bob Wearing’s Mortise Cutting Technique
9. Mortise Depth and Cutting the Mortise
10. Testing the Mortise & Making a Tenon Test Stick
11. Marking the Tenon
12. Sawing the Shoulders
13. The Router Plane & How to Sharpen it
14. Trimming the Tenons to Thickness
15. Cutting the Tenon to Width & Trimming the Shoulders
16. Using the Pyramid Blocks in the Clamping Process & Avoiding Glue Squeeze Out
17. A Quick Look
18. A Variation on Mortise & Tenon Joint
19. Making the Pegs
20. Planning the Holes in the Mortise Piece
21. Inserting the Pegs
22. Making the Surfaces Flush
23. Planning the Joint
24. Hollow Chisel Mortiser
25. Mitred Tenons
26. The Wedges
27. Glue Up
28. A Chinese Variation on Design
29. Conclusion
176 minutes, Lie-Nielsen Toolworks Productions, 2018. Video download.


Reviews
There are no reviews yet.